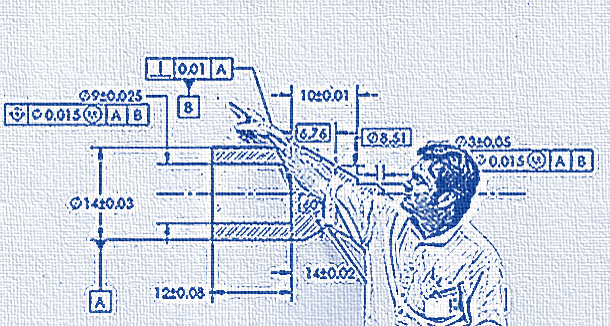
With the advent of more and more sophisticated and complex product requirements on each new program, the increase in accuracy requirements has been phenomenal. These requirements are attributed to higher shock loads, pressures, speeds, higher operating temperatures, more accurate mass property requirements, drastic weight reductions, size reductions and improved environmental control of exhausted materials and gases. The entire range of holistic forces has grown so fierce that the design engineer is forced into a position of specifying tighter tolerances than ever before.
We can no longer afford the old non-related tolerancing techniques of individual tolerances, all applied regardless of feature size, and subject to interpretation, with the expensive make it tight to make it fit techniques of the past. All possible tolerance trade-offs should appear on the drawing; tolerances on individual features should be allowed to vary based on feature size, appropriate datums and functional relationships. The note or symbology on the drawing should impart a precise meaning to engineering, manufacturing and inspection.
Unfortunately, most engineering curriculums are so loaded with large blocks of basic information that (the graduate engineer) leaves school not really even knowing how to interpret an engineering drawing. There is an ever-increasing trend to include geometric tolerancing in the drafting technologies departments, and perhaps with the new BS degree in engineering technology it will become mandatory in that curriculum for mechanical engineers.
Even the simplest investigations show that the great bulk of the rising costs of producing a product today are directly or indirectly related to the tolerance tightening process. It is prudent, therefore, that those concerned with the cost (and quality) picture in design, producibility, manufacturing, quality and value engineering, and especially management seek out and implement techniques that could hold the cost line or reverse the trend. The technology to accomplish this has been proven to be geometric tolerancing, and it is used by both military and industry, nationally, and worldwide, as evidenced by the DoD approved ANSI (American National Standard Institute) Y14.5 and the International Organisation for Standardisation ISO R1101.
Cost increase exponentially with tighter tolerances.
Tolerance have a direct influence on the following factors:
- Process equipment and subsequent capital investment
- Cost of production tooling and setup
- Operator skill and wage rate
- Customer satisfaction (competitive cost, quality, and schedule)
- Wage rates, cost of wasted labour
- Scrap materials – material review board analysis
In addition to a modest cost savings in drafting due to the usage of symbology typical savings are as follows:
- Decrease in time consuming discussions on interpretations and mistakes
- Reduction in manufacturing operations
- Coordinated manufacturing and inspection setups and integration techniques
- Same each time specification
- Reduction of scrap and rework
- Reduction in tooling costs and manufacturing request for additional tolerances
We can now provide for maximum producibility, provide “bonus” tolerances in many cases and ensure that tolerance requirements are indicated as they actually relate to function but, more importantly, specifically stated, uniformly interpreted and carried out. At most major companies thousands of tolerances are committed each week; can we afford to compete if we don’t take advantage of cost effective techniques available to us?

